Parenting Tips
Prewriting Skills for Kids A Step-by-Step Guide

Helping children develop strong prewriting skills is the first step toward confident and effective handwriting. Prewriting exercises lay the foundation for fine motor skills, hand-eye coordination, and muscle strength needed for writing letters and words. In this article, we will guide you through a structured approach to teaching prewriting skills to young learners.
Why Are Prewriting Skills Important?
Prewriting skills help children gain control over their hand movements, allowing them to form letters accurately. These skills also enhance hand strength and coordination, making writing more comfortable and efficient as they progress through school.
Before basic stroke practice, kids have to develop fine motor skills to strengthen their hands and fingers for writing. And there are many activities that we can practice before starting prewriting. Here is Prewriting Skills for Kids: A Step-by-Step Guide
Step 1: Scribble
Let the kids scribble freely with pencils, crayons, drawing tools. This is an essential first step in developing their writing skills; it is more than just the random marks on paper; it’s a part of fine motor skill development. Through scribbling, children strengthen small muscles in their hands and fingers, laying the foundation for holding and controlling a writing tool effectively. It also helps them develop hand-eye coordination and spatial awareness, which are vital for forming letters and words later on.
Some children may prefer to scribble on walls rather than on paper, which is a natural part of their creative exploration. Instead of restricting their desires completely, consider providing a designated area where they can scribble freely, perhaps a section of a wall covered with paper or a chalkboard. You can also encourage controlled scribbling by drawing a large circle or square on paper and guiding them to keep their marks within the shape. This not only satisfies their urge to create but also introduces the concept of boundaries, an essential skill for organized writing later on. By allowing children to explore scribbling in a positive and structured way, you can build a foundation for writing skills and nurture their confidence as they change from making random marks to purposeful writing.
1) wall scribble
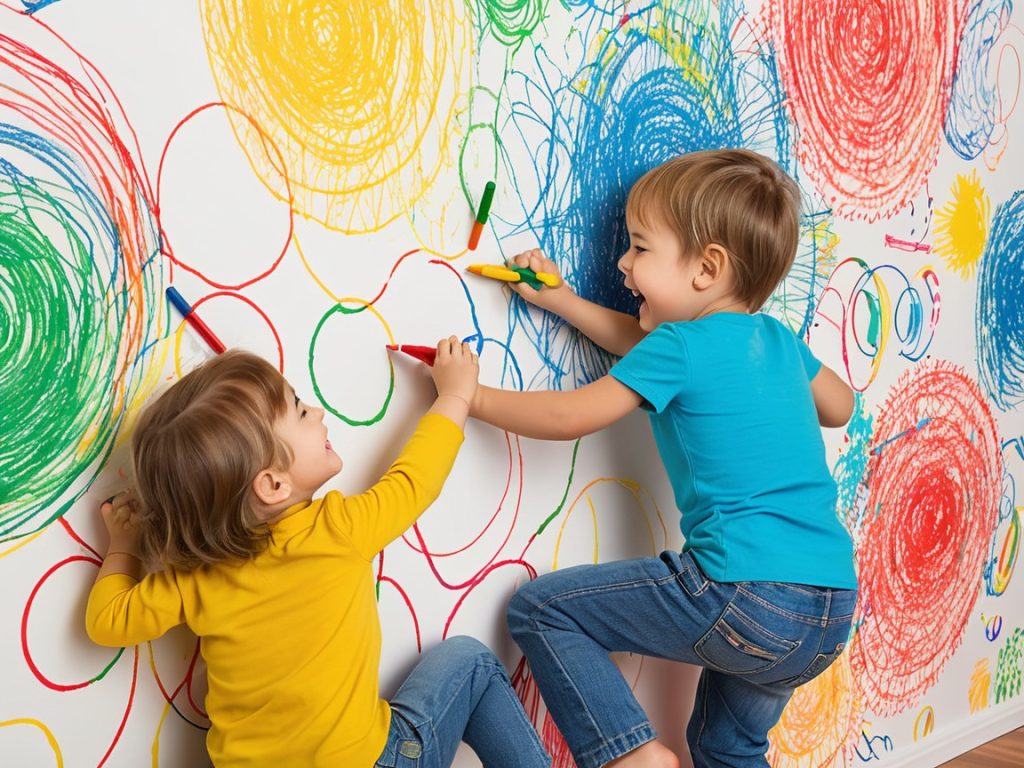
Allowing children to scribble freely on a large surface, like a wall covered with paper or a chalkboard wall, helps to develop the foundation for writing. Four-wall scribbling strengthens hand and shoulder muscles because they use their whole hands to move large surfaces, not only fingers; it improves hand-eye coordination, encourages creativity, and builds confidence in making lines and shapes. These early movements prepare children for better pencil control while having fun
2) Scribble on a paper

3) Scribble in the controlled space, in a square or circle
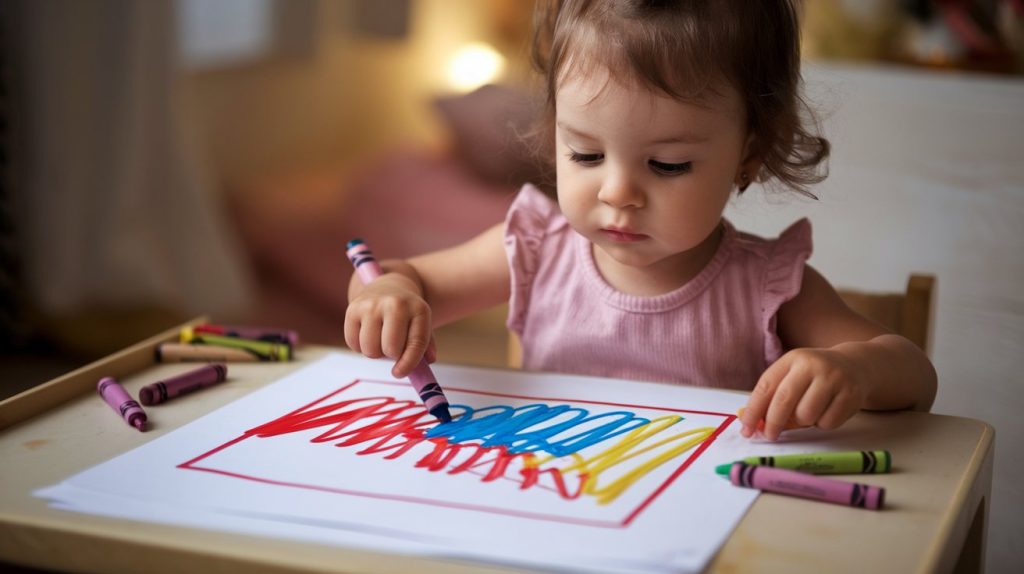
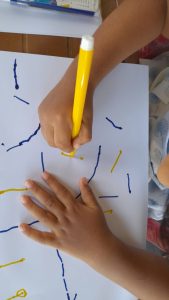
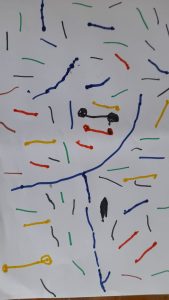
Step 2: Drow random lines
Let the kid draw random lines
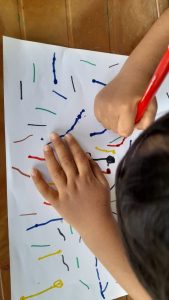
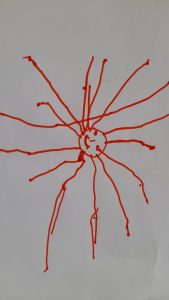
Step 3: Dot-to-dot
Step 4: Basic Strokes Practice
Start with simple strokes to help children understand different types of lines. Use engaging activities to make practice enjoyable. There are mainly four types of lines.
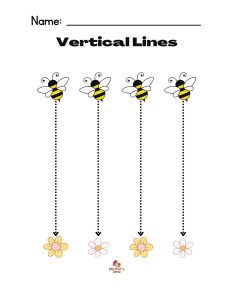
1. Standing Lines (Vertical Lines)
-
Practice drawing straight lines from top to bottom.
-
Example: lines on a fence or tall trees.
-
Activity: Tracing vertical lines on worksheets or drawing lines with crayons
Free work sheets
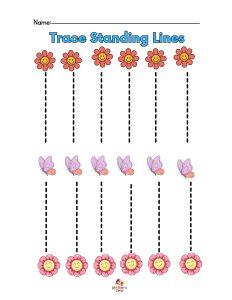
Free Download
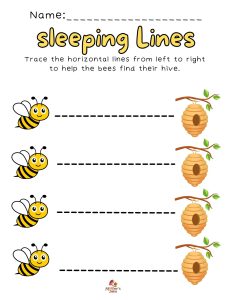
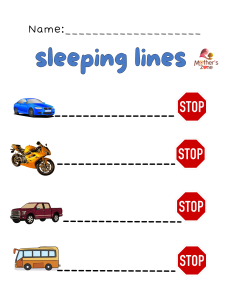
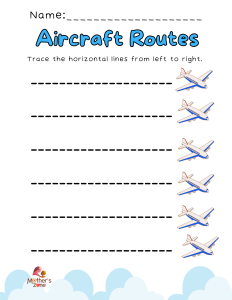
2. Sleeping Lines (Horizontal Lines)
-
Draw straight lines from left to right.
-
Example: Train tracks or table edges.
-
Activity: Connect the dots in horizontal patterns.
Free sleeping line download
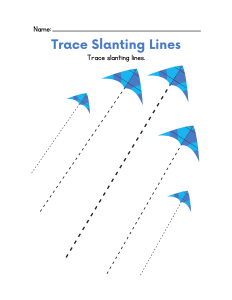
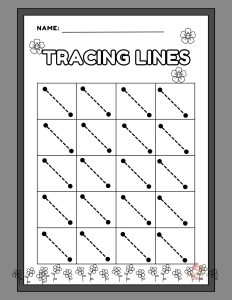
3. Slanting Lines (Diagonal Lines)
-
Practice drawing both left and right slanting lines.
-
Example: mountain peaks or roof slopes.
-
Activity: Trace slanting lines using our printable worksheet.
4. Curved Lines (Arcs and Waves)
-
Practice upward and downward curves (like a rainbow and waves).
-
Example: smiley faces and waves in the ocean.
-
Activity: Draw waves or rainbow patterns.

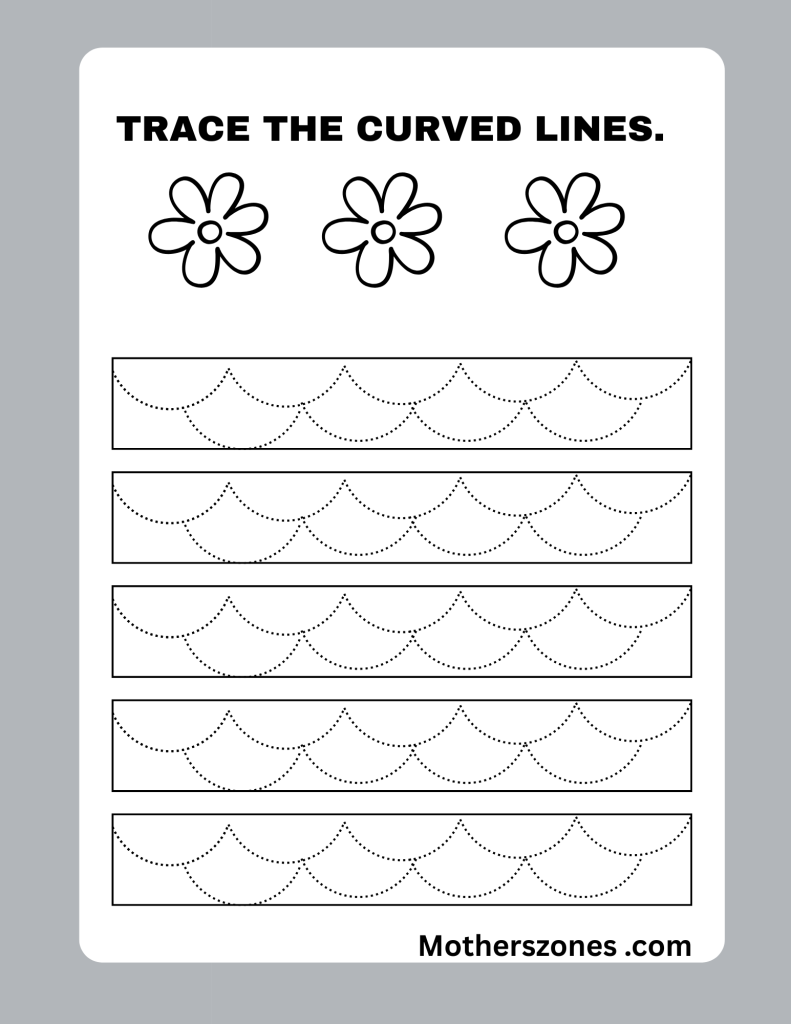
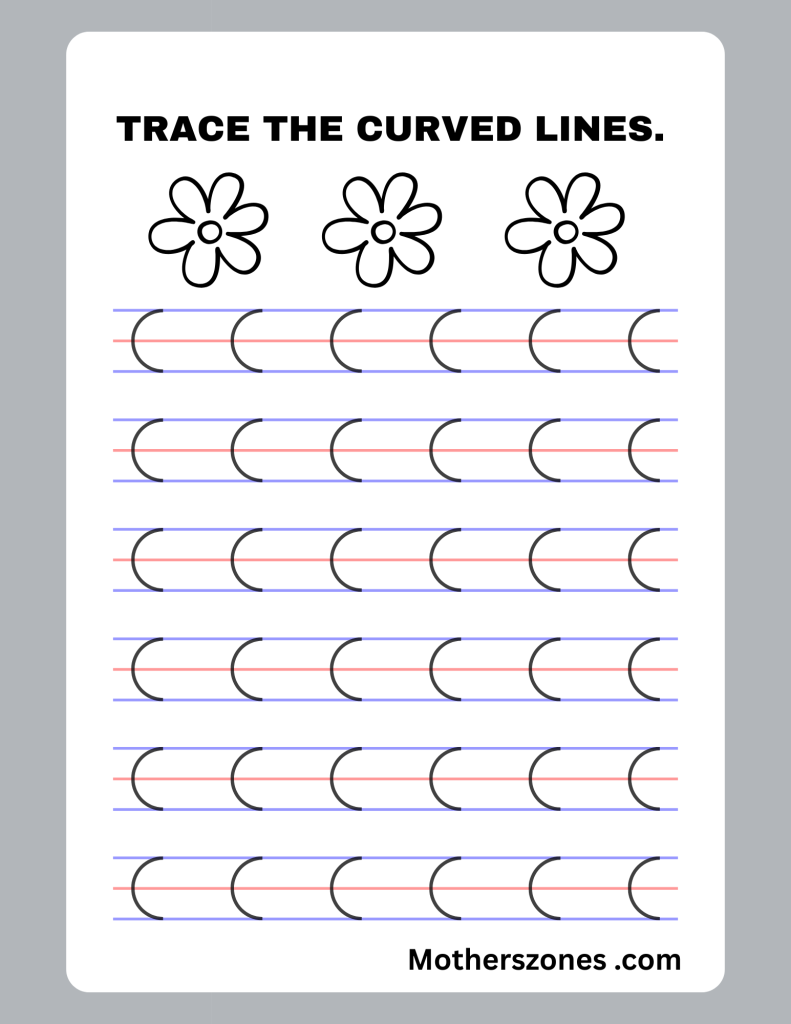
Download free Curved Lines worksheets
Free Download
Step 5: Combined Strokes
Combining strokes helps kids develop complex patterns, which are essential for letter formation.
-
1. Zig-Zag Lines
Combination of slanting lines going up and down.
-
Example: mountains or zigzag patterns.
-
Activity: Trace zigzag paths to complete a pattern.

Free Download
2. Pattern Tracing
-
Trace patterns that combine lines and curves.
-
Example: Snakes or decorative borders.
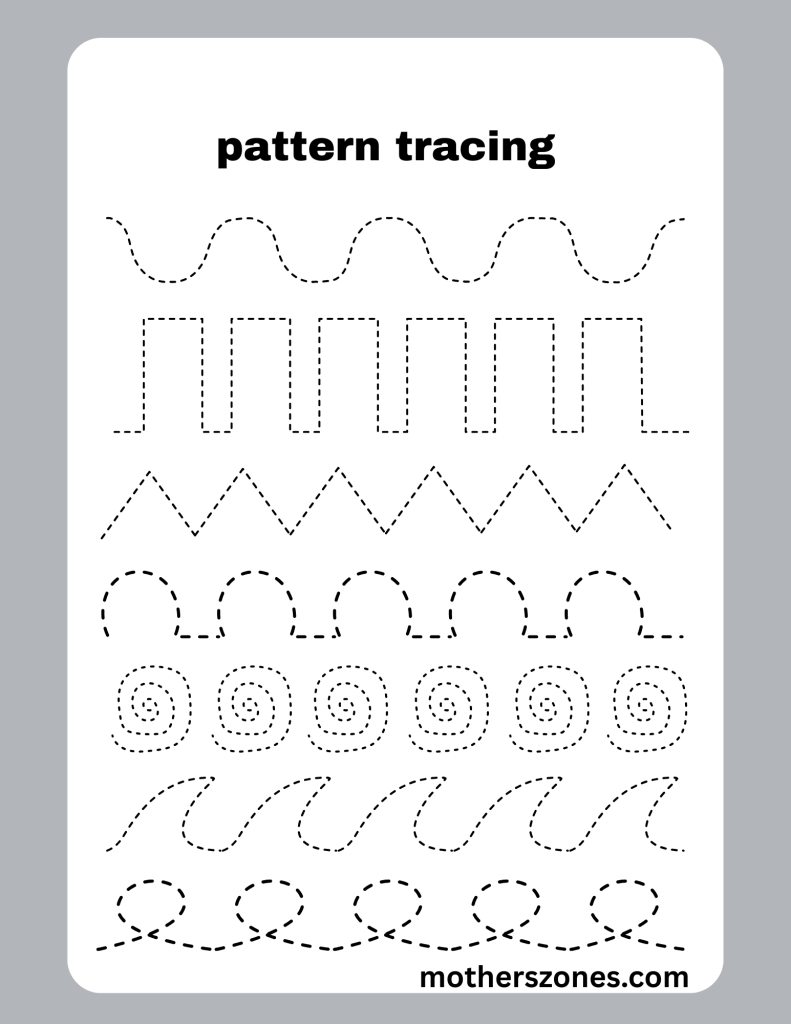
Download this worksheet. Free Download
Step 6: Shapes and Patterns
Introduce basic shapes to familiarize kids with curved and straight lines used in letter formation.
1. Basic Shapes
-
Practice drawing circles, squares, triangles, rectangles, and ovals.
-
Example: sun, ball, house, and flowers.

Download this work sheet Free Download
2. Pattern Practice
-
Repeated patterns like loops, waves, and spirals.
-
Example: Garland patterns or winding paths.
Step 7: Letter Formation Preparation
Help children develop skills that resemble letter formation by combining strokes and shapes.
1. Connecting Lines and Curves
-
Practice joining lines and curves to form simple patterns.
-
Example: continuous loops and linked shapes.
2. Letter-Like Strokes
-
Introduce shapes that resemble letters, such as “c” and “o.”
Step 8: Writing Letters
Gradually introduce letter formation after mastering strokes and patterns.
1. Capital Letters (Straight and Simple First)
-
Start with straight-line letters like I, T, L, and E.
-
Move on to slanting line letters like A, V, X.
-
Finally, practice curved letters like O, C, D, and G.
2. Small Letters
-
Start with simple strokes (like l, i, t).
-
Gradually move to curved and combination letters (like c, o, a).
-
Practice letters with loops and tails (like g, y, p).